
01
LONG + STRAIGHT
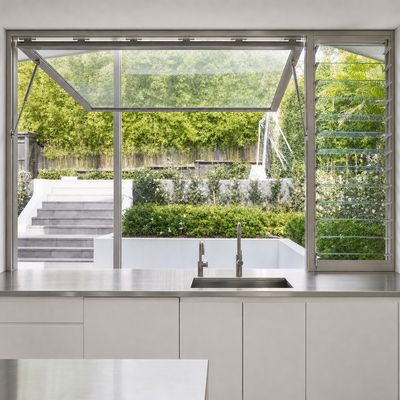
Linear seam welding
Clean, repeatable welds for long straight joints, panels, covers, and built-up sections.
 ENTER
EXOLOX.COM
Cart
0
ENTER
EXOLOX.COM
Cart
0
 DiaTreadStair + safety
RolyPulleyMotion + tension
EXOHDWHardware + interfaces
AluminuAluminum systems
LesstainStainless systems
EXOCNCManufacturing
EXOSTRUTModular structure
Virtus VansVan architecture
Boll-InAccess + site systems
EXO OSProduct intelligence
ONE CONNECTED NETWORKExplore
DiaTreadStair + safety
RolyPulleyMotion + tension
EXOHDWHardware + interfaces
AluminuAluminum systems
LesstainStainless systems
EXOCNCManufacturing
EXOSTRUTModular structure
Virtus VansVan architecture
Boll-InAccess + site systems
EXO OSProduct intelligence
ONE CONNECTED NETWORKExploreWC-210 / Joining
Keep a controlled circumferential join, its fixture, seam requirement, and next handoff in one distinct work center.

Every project is reviewed and quoted independently.
JOINING ROUTE
The service stays separate from turning, milling, finish, and assembly while remaining easy to place inside the full route.
Confirm the approved parts, material condition, joint geometry, seam requirement, quantity, and downstream finish.
Keep rotary location, support, seam access, and part presentation attached to the joining operation.
Complete the released rotary laser-welding scope for the approved first article or recurring operation.
Verify the required seam condition and release the assembly to finish, inspection, or the next assembly step.
WORK-CENTER RECORD
LASER WELDING / MORE WAYS TO BUILD
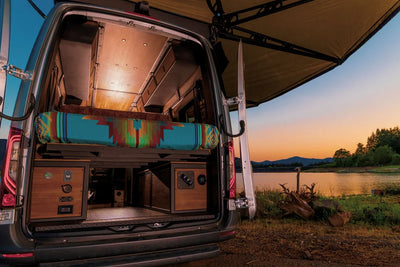
Long runs, repeat fixtures, or a skilled hand for the unusual stuff. We match the welding setup to the part.
LONG + STRAIGHT
Clean, repeatable welds for long straight joints, panels, covers, and built-up sections.
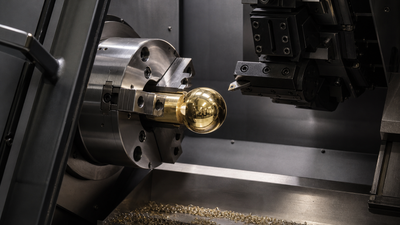
SET IT ONCE
A controlled rotary fixture holds cylindrical parts on-axis for a clean, repeatable laser-welded seam.

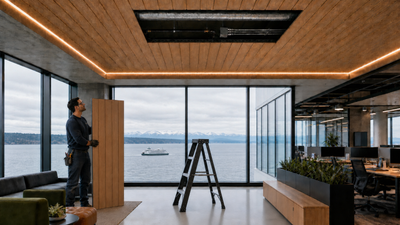
HANDS-ON CONTROL
Direct control for prototypes, one-offs, repairs, and seams that need a human touch.
Illustrative process views. Equipment, access, joint design, fixtures, acceptance, and production scope are confirmed per project.